Installing OpenBSD 6.8 with disk encryption
It is time to use the most secure operating system.Introduction
OpenBSD is a Unix-like operating system created by Theo de Raadt in 1995 as a fork of NetBSD. It runs on various platforms and focuses on reliability, security, correctness, and freedom. This is considered by many as the most secure OS out there, it had only two remote attack vulnerabilities in a long time. The OpenBSD team also developed other important programs, such as OpenSSH.
In this post, I will show you how to install this amazing operating system with disk encryption, as well as show you how to customize the default window manager (FVWM). The final result will be something like this:

Tested on OpenBSD 6.7 and 6.8.
Downloading OpenBSD
You can download the latest version of OpenBSD here. Remember to check the image signature.
Installing OpenBSD
I won’t cover how to create a bootable USB stick or set up a virtual machine. If you plan to use OpenBSD, you should already know that. Let’s start!
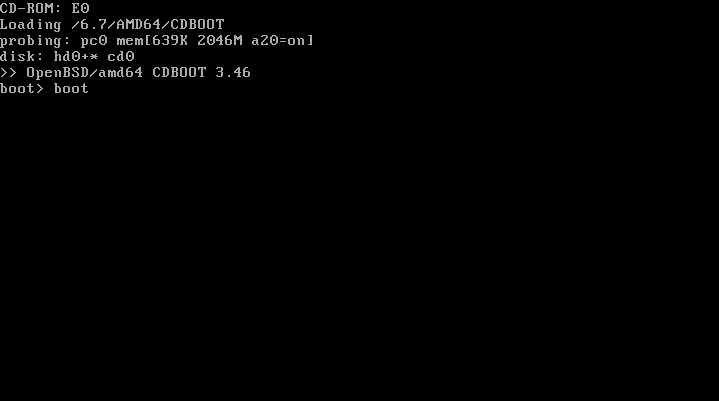
- At the bootloader screen, type boot or just press enter.
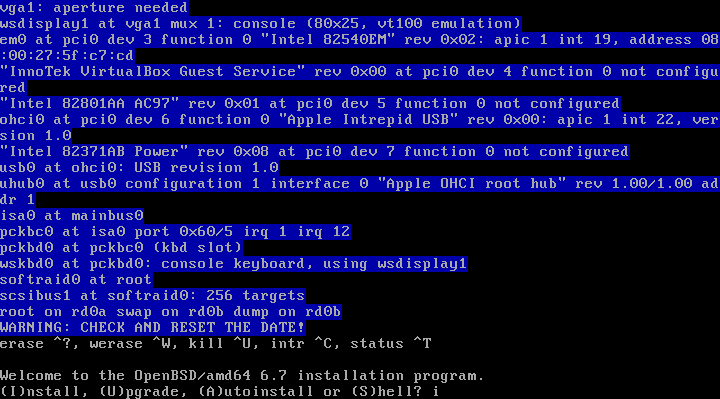
- You will see a welcome screen with some options. Type i and hit enter.
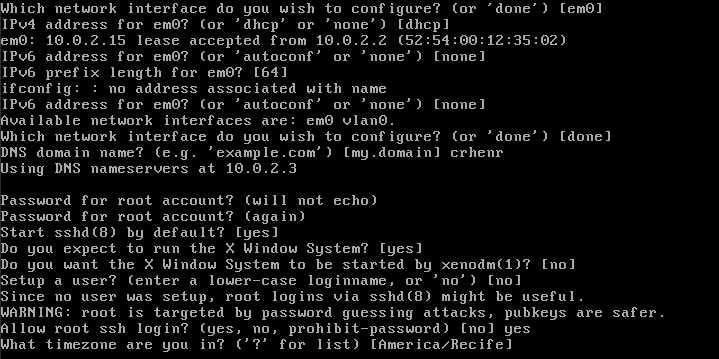
- Basic configuration:
Set a keyboard layout, hostname, network interface, IP address, DNS domain name, and root password. You will also be asked if you want to enable sshd by default and if you plan to use the X Window System. I will choose the default options.
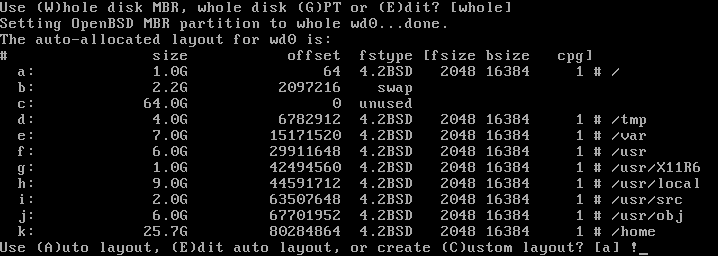
- When the installation prompts you to create a disk layout, type ! to pause it.
Optional: Enter the following command to clean your disk:
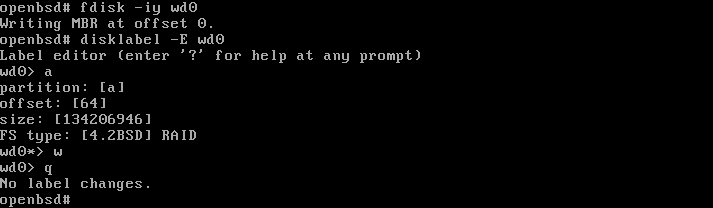
# dd if=/dev/urandom of=/dev/wd0c bs=10mThis process can take a long time depending on the size of your disk. - Write the MBR and set up a RAID slice:
                        # fdisk -iy wd0

                        # disklabel -E wd0

                        wd0> a

                        partition: [a]      # Hit enter

                        offset: [64]        # Hit enter

                        size: [xxx]         # Hit enter

                        FS type: [4.2BSD] RAID

                        wd0*> w

                        wd0> q
- Set up the encrypted slice and exit the shell:
                        # bioctl -c C -l /dev/wd0a softraid0

                        New passphrase: [your super-secure password here]


                        # exit

- Press CTRL+C, enter install, and continue the installation.
This will allow the installer to recognize the new encrypted volume. Most of the options will be already set. When the installation prompts you for the disk, use the encrypted volume (in my case sd0). Hit enter to use the whole disk.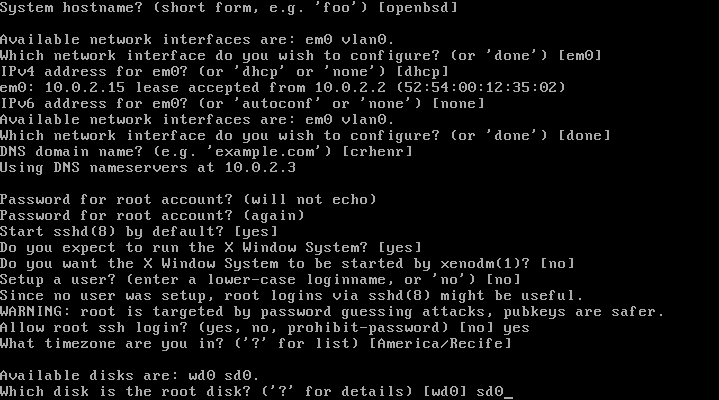
- Set up the disk layout:
I recommend you to use the auto layout option for security reasons.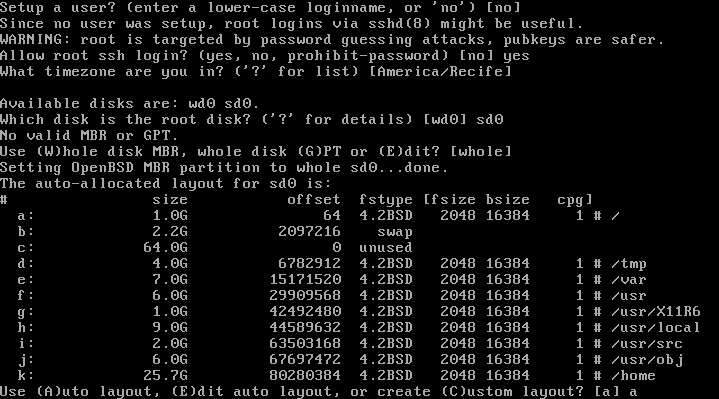
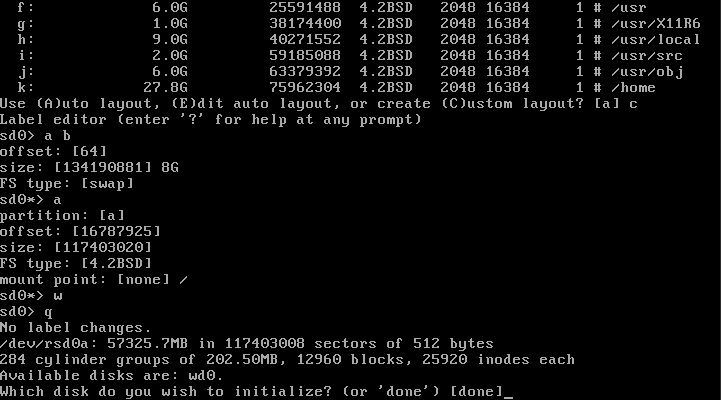
If you want to use a custom layout (e.g., all directories on the same partition), type c. I will use the following settings:
                        sd0> a b

                        offset: [64]         # Hit enter

                        size: [xxx] 8G

                        FS type: [swap]      # Hit enter

                        sd0*> a

                        partition: [a]

                        offset: [xxx]        # Hit enter

                        size: [xxx]          # Hit enter

                        FS type: [4.2BSD]    # Hit enter

                        mount point: [none] /

                        sd0*> w

                        sd0> q
- You can just select the default options next.
If the installer can’t find the SHA256 signature and you are sure the image was not modified in any way, type yes.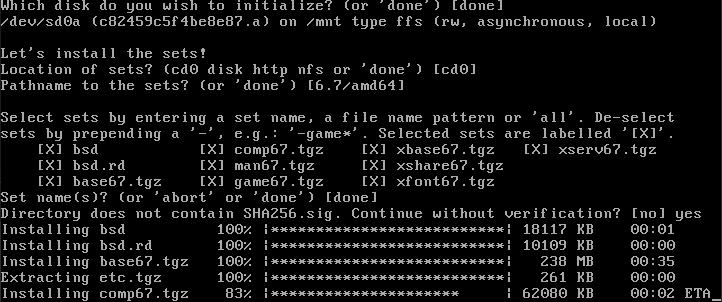
- Reboot the computer. You will be prompted for your password.
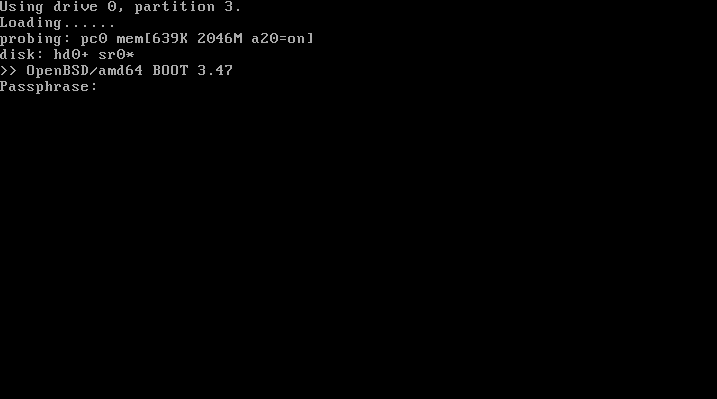
Congratulations! At this point, you should have a fully functional OpenBSD installation. Don’t forget to log in as root and create a user account with the adduser command.
Customizing FVWM
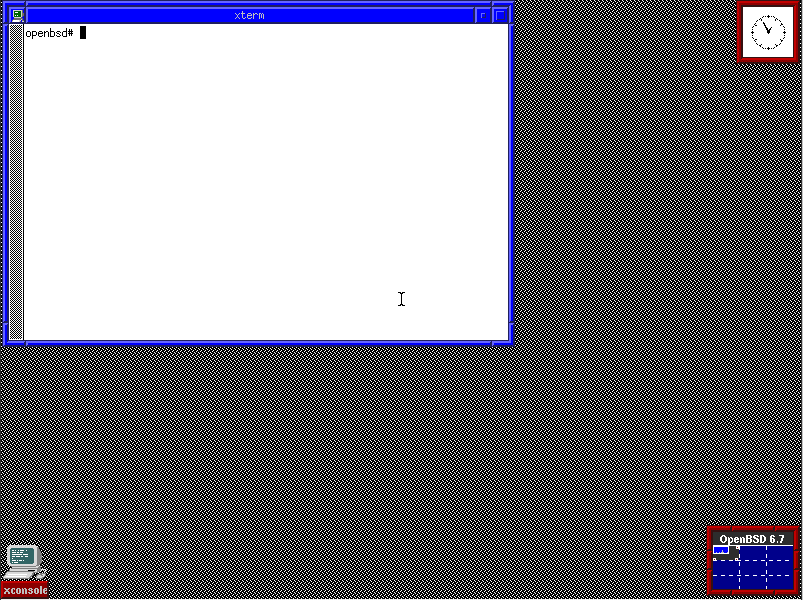
The default window manager of OpenBSD is FVWM. I like FVWM, it is lightweight and highly configurable. The default look of FVWM on OpenBSD is something like this:
I don’t think it looks very cool…
Now we will rice this WM. I have a collection of dotfiles in my GitHub account, you can download the repository and run the installation script as root.
                    # pkg_add unzip wget

                    # ftp -o dotfiles.tar.gz https://github.com/cristianzsh/dotfiles/archive/master.tar.gz

                    # tar xzvf dotfiles.tar.gz && cd dotfiles-master

                    # chmod +x install.sh

                    # ./install.sh

                    Install additional software? [y/n] n

                    Move dotfiles to which user? cristianzsh

                    # reboot
If you enter n for installing additional software, the script will install only the essential for the rice: feh, conky, i3lock, scrot, rofi, ImageMagick, slim, and slim-themes. If you enter y, it will install some of my personal programs (e.g., Firefox and Wireshark).
The result will be something like this:
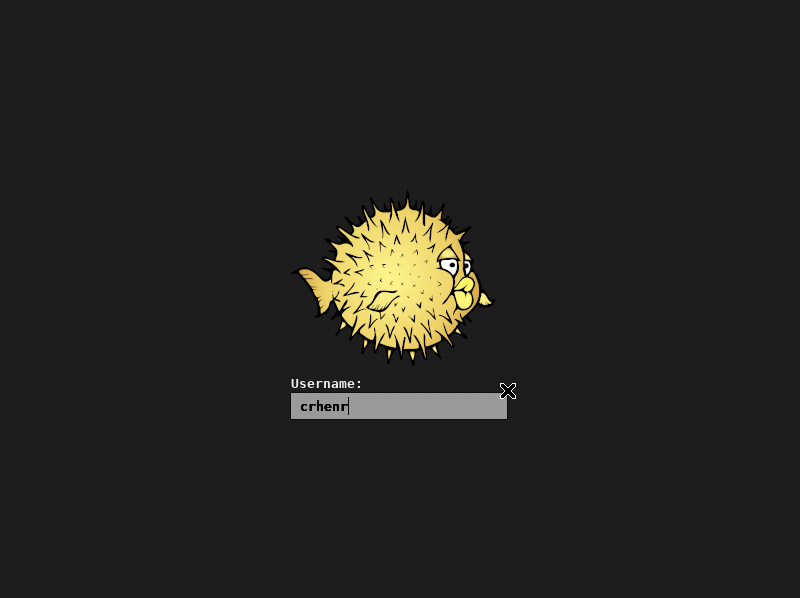


Much better :)
Conclusion
Installing OpenBSD is very easy and the default window manager is highly customizable. Feel free to change my dotfiles according to your needs and let me know about your rices. Depending on the feedback, you may see more advanced posts about OpenBSD here.
I hope you enjoyed this tutorial.
My dotfiles